

If you can’t find slave-free Easter eggs that you like, sometimes you have to make your own from slave-free ingredients! Here’s how we’ve been making slave-free hazelnut chocolate Easter eggs.
Over the years we’ve developed a number of home-made Easter egg recipes. We first learned how to make marshmallow chocolate Easter eggs. Last year we added creme eggs to our repertoire: both classic creme eggs and vegan peppermint chocolate ones. This year we made milk chocolate Easter eggs filled with a chocolatey hazelnut paste.
This recipe makes about 30 eggs using moulds with cavities about 3cm across, 4cm long and 1cm deep (look for hard plastic moulds - silicone doesn’t work well with filled eggs). It’s way less fiddly than the creme eggs we have previously made in the same moulds!
Ingredients
- 150g milk chocolate (your best option is Tony’s Chocolonely milk chocolate or anything with Fairtrade certification, as these use slave-free sugar as well as cocoa. If that doesn’t work for you then look for Rainforest Alliance certified chocolate, where at least the cocoa is slave free. Whittakers and Woolworths own brand are both widely available Rainforest Alliance certified options.)
- 100g smooth hazelnut butter (like peanut butter but made with roasted hazelnuts - buy from health food shops). Make sure you get a brand that’s made with New Zealand hazelnuts: child labour is a huge issue in the Turkish hazelnut industry, and Turkey dominates the international market. We don’t know of any overseas hazelnut butter available here that we’re confident is child labour free.
- 50g icing sugar, sifted (it’s really important to sift it) - the only option we’re aware of with a reliable slave free certification is Woolworths own brand, certified through Bonsucro)
- 500-600g extra milk chocolate for shells
Method
Preparing the filling:
- Gently melt first measure milk chocolate in microwave (burns easily). Don’t worry if it’s a bit lumpy (i.e. a little burnt) - that won’t be noticeable in the final product.
- Mix in hazelnut butter, then icing sugar.
Assembling the Easter eggs (see below for photos of the process):
- Melt second measure chocolate.
- Paint melted chocolate into the mould cavities. Tap chocolate to remove any bubbles. Scrape to level. Put into the freezer for 1-2 minutes.
- Remove mould from freezer, coat the sides of each cavity with a second coat of chocolate (a piping bag helps with this) then scrape to level.
- Freeze 5 minutes (they should be set solid when the mould looks ‘misted’).
- Tap moulds to remove chocolate. If they don’t come easily, twist and rub them with your thumbs. It can take several goes of this (putting them in the freezer between times) till they’re all out.
- Place half the halves back in the moulds.
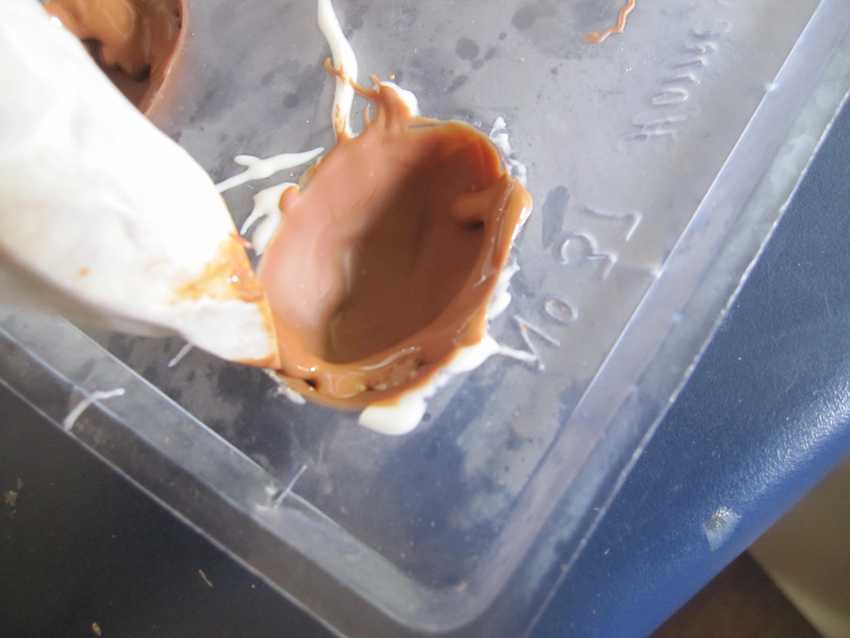
- Microwave the filling if necessary (be gentle, it becomes runny fast! - try 10-20 second bursts - just until it’s workable) then put an oval of filling into each mould such that it stands a bit ‘proud’ of the rim.
- Pipe chocolate around the rim of these half-eggs then top with another half, removing any chocolate smears that ooze well beyond the edge of the egg. Leave to stand in the moulds (so level) and return to freezer until set (1-2 minutes).
Photos of the process
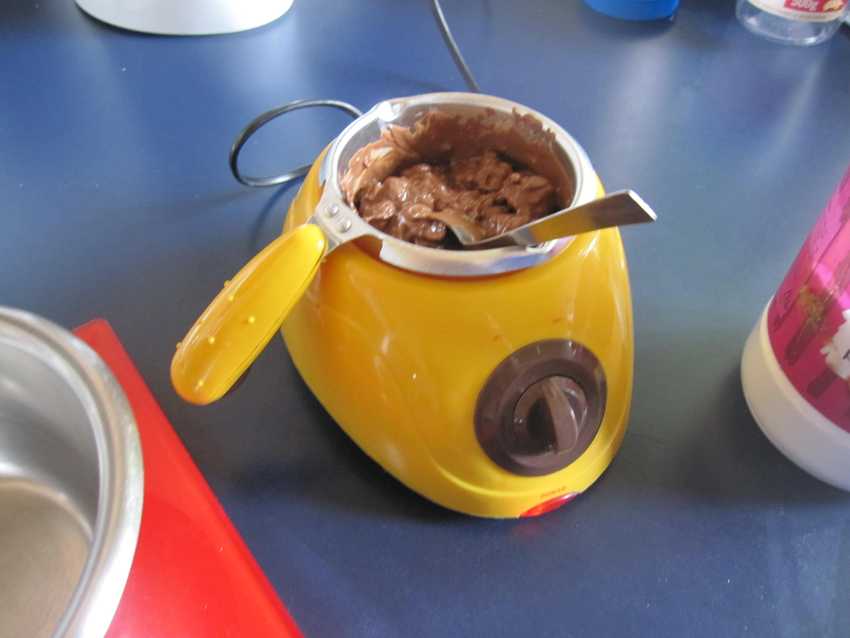
I decided to melt the chocolate in my fancy chocolate machine so it wouldn’t burn. As you can see, that didn’t work out as hoped. However, using chocolate that was as lumpy as this turned out to work fine.
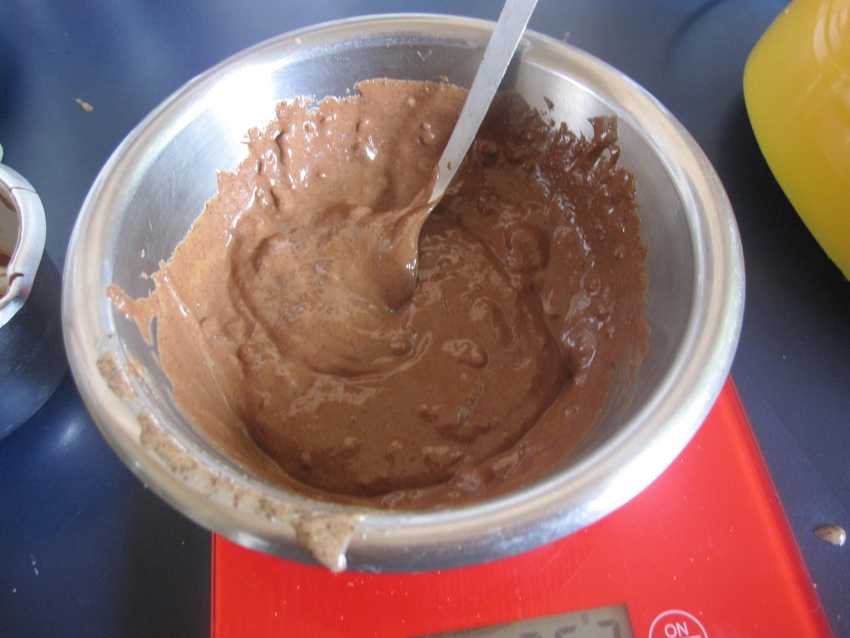
Hazelnut butter mixed in. You can see it’s got quite a few lumps from the chocolate.
Icing sugar mixed in. You can see it’s now stiff-ish (and not much above room temperature).
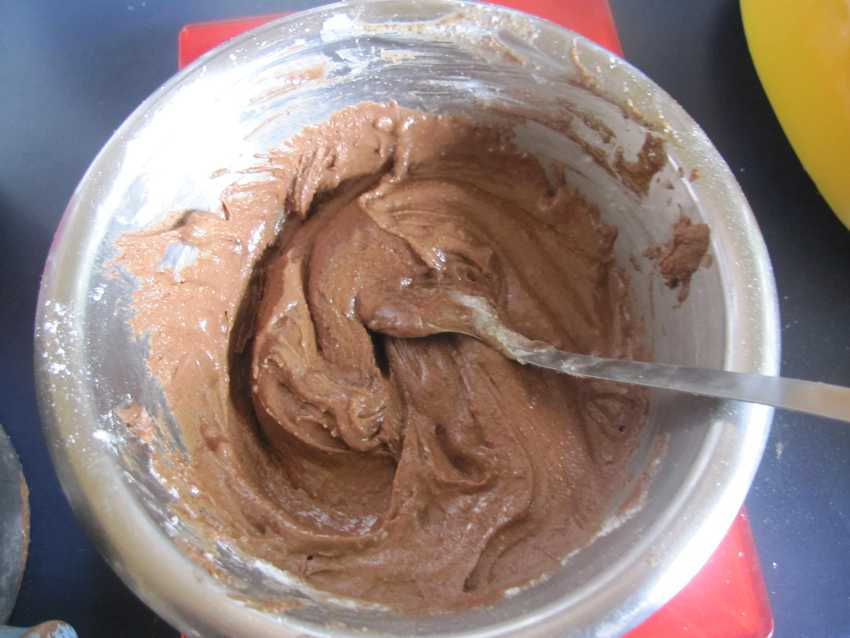
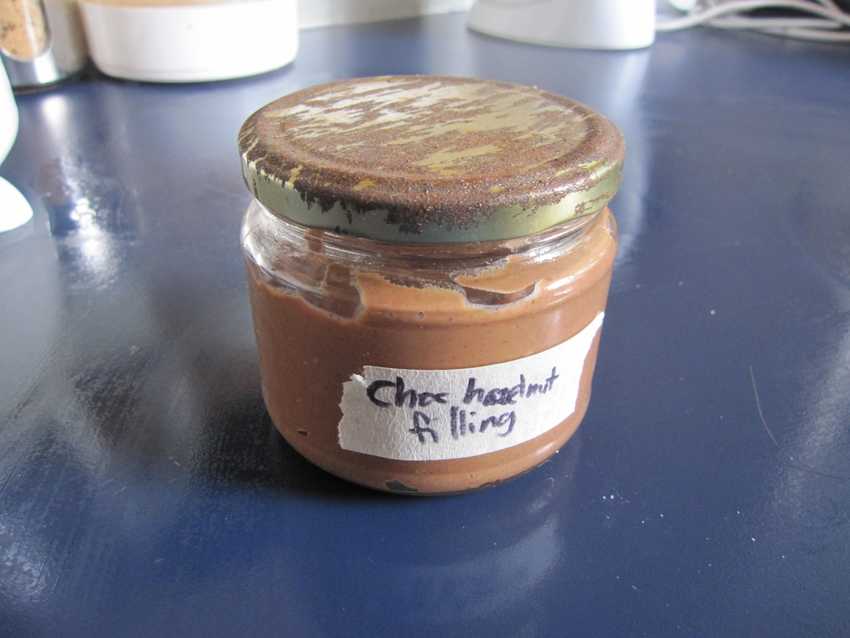
The recipe made about a cup of filling. I stored it in the fridge until I was ready to make the eggs. I expect it will store more-or-less indefinitely at fridge temperature.
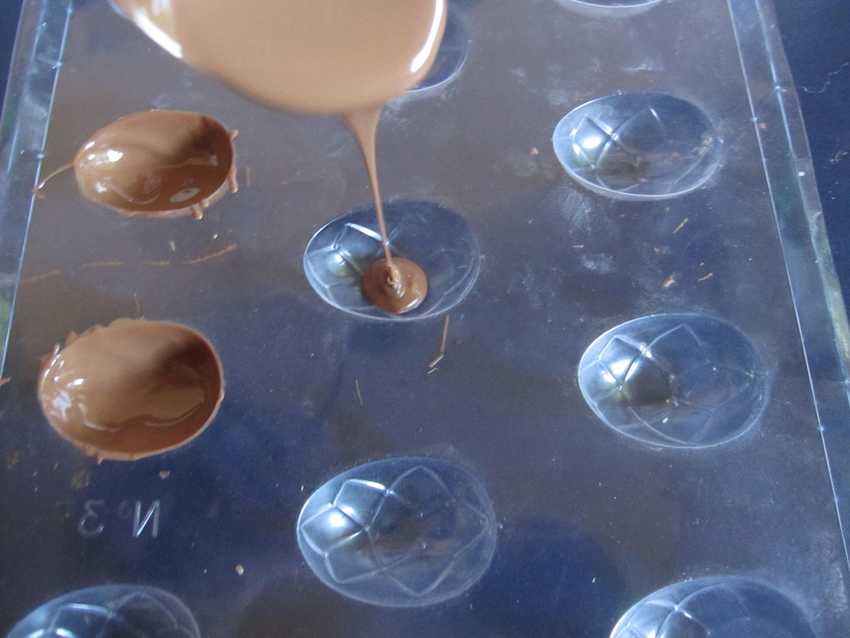
Pouring the chocolate into the moulds for the first coat. I’m using these moulds.
Piping the second coat of chocolate around the rim of the egg shells (so that they are evenly thick all around)
Piping chocolate around the rim of the eggs after they’ve been filled with hazelnut filling. Some of these have already been ‘capped’ with a second half-egg.
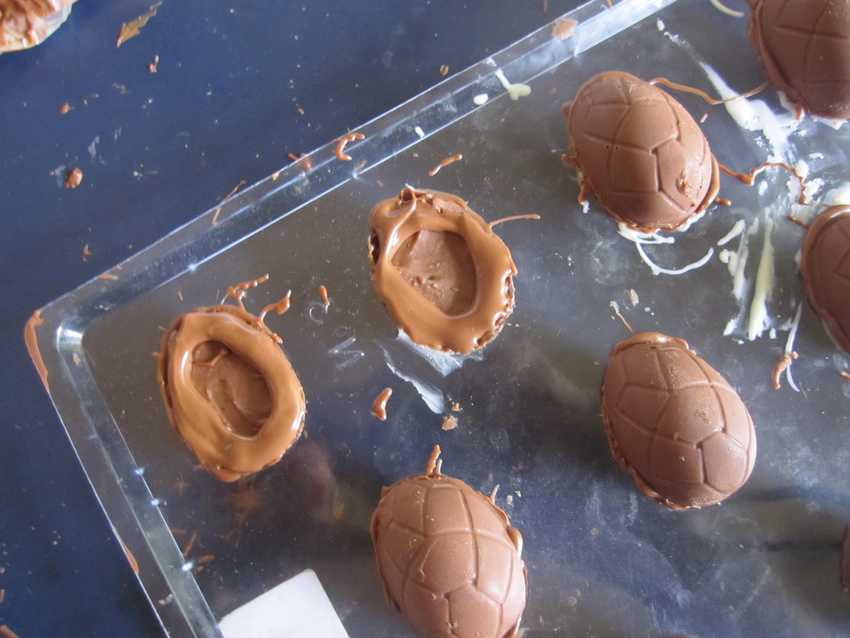
Ready for final setting in the freezer.
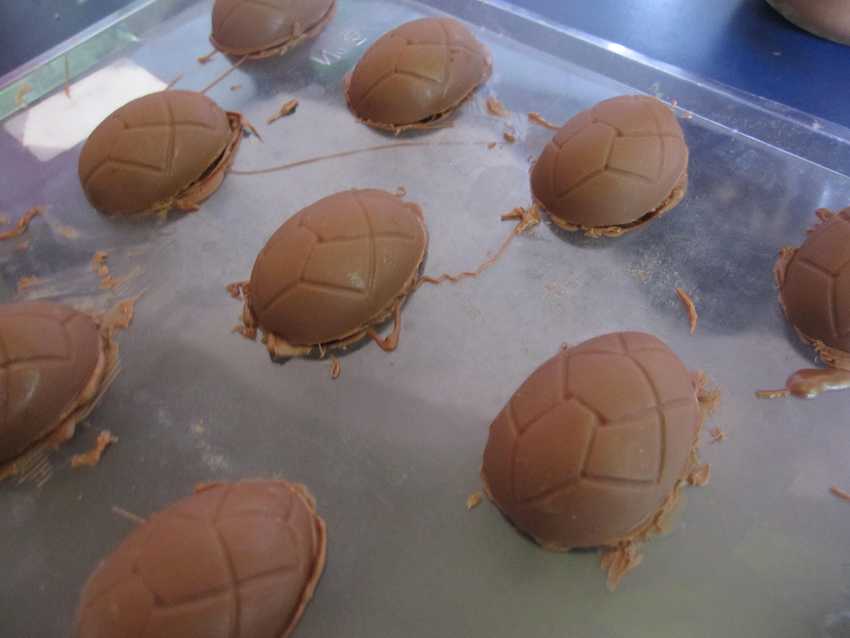
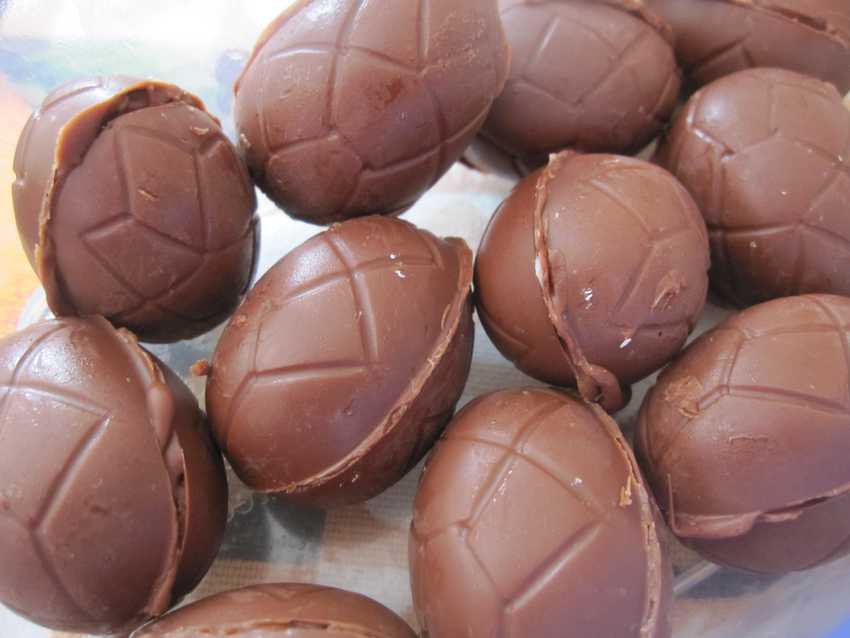
The finished product!